I love stationery and have already spent a pretty penny amassing an extensive collection of paper, pens, stickers, cards, and the like. I also love crafting and have enrolled myself in various workshops, watched and read countless DIY videos and step-by-step instructions, and embarked on many hobbies and projects. When I did a little spring cleaning in my room last month, I found this:
 |
| The Easiest Handmade Papermaking Kit |
My fingers tingled!
I got this from Papemelroti around four years ago but never got around to using it. The kit contains a mould and deckle (the frame without the screen) and an instruction booklet that also tells a brief history of handmade paper, alternatives to some steps, and other fun projects to do. I thought I'd use it one of these days, and that opportunity came during the break last long weekend.
I got this from Papemelroti around four years ago but never got around to using it. The kit contains a mould and deckle (the frame without the screen) and an instruction booklet that also tells a brief history of handmade paper, alternatives to some steps, and other fun projects to do. I thought I'd use it one of these days, and that opportunity came during the break last long weekend.
The steps felt familiar because I already did this before; my classmates and I made our own handmade paper for a Home Economics project when we were in high school. (-‿◦☀)
For this project, I used old press kits and credit card statements. It's an excellent way to de-clutter without feeling too guilty about dumping your trash, yes?
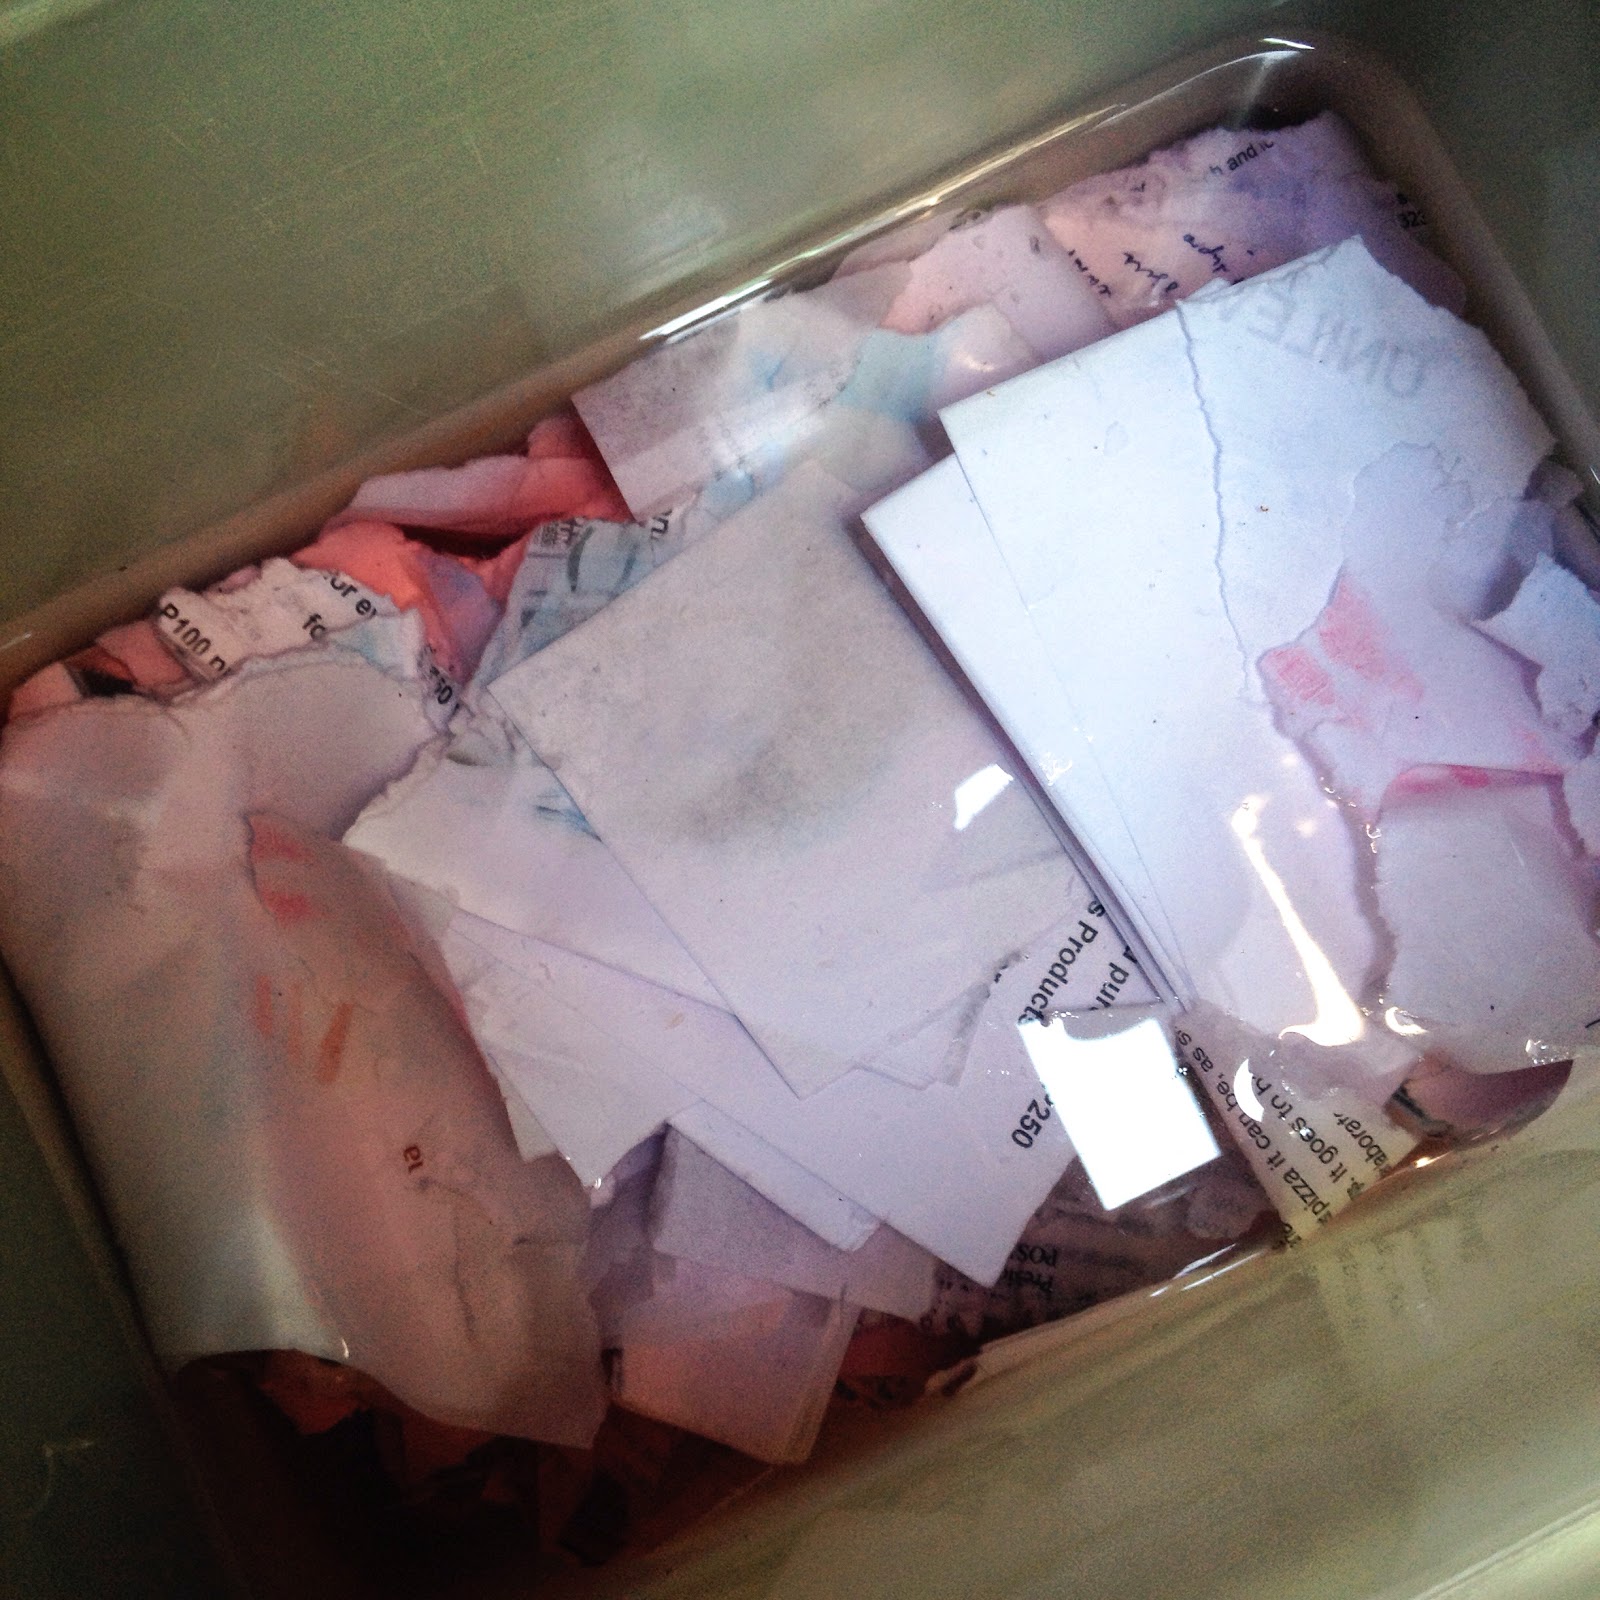
When it comes to making handmade paper, the most important part is the paper slurry, which is the mixture of blended 1/3 parts paper and 2/3 parts water. Since I don't have a blender specifically for non-food items at my disposal, I just soaked my torn paper in water overnight and pounded on the pieces with a pestle.
After almost half an hour of pounding and grinding, I was left with exhausted arms and this sorry looking pile of discarded wet paper:

I know I could've done better, but by that point my arms were already too tired I didn't care anymore, heh. This is difficult, you guys!

Add gawgaw to your mixture to serve as binder, and dip and scoop up away! Just make sure your basin is bigger than your mould and deckle to make it easier.
Dip mould and deckle into the basin to scoop up pulp, lift frames up and let water drain back into tub, separate deckle and lay mould upside down on folded sheets of newspaper, and separate mould from the sheet. It is important to shake gently to distribute the fibers evenly and to soak up excess water with a sponge.

Let the paper sheets dry for a day. Or in my case, for five days because it rained here all week and the sun barely shone.
I checked them this morning, and was pleased that they're finally ready!

I was able to make 16 sheets of [uneven] handmade paper on this batch. ( ⋂‿⋂’) Some sheets are a bit lumpy thanks to my not having an extra blender but I'm happy with how they turned out. I have yet to find a use for them but I'm sure I'll find something to do with them on one of my craft projects.
As pleased as I am with the results and as satisfied as I feel at having completed another crafting project, I don't think I will make my own handmade paper again anytime soon. ✖‿✖ It took so much time and effort that I think I'm better off buying ready-made handmade paper. Let me get a blender and give me more sunshine and maybe I'll change my mind. I might even do some of the suggested fun projects like embedding flowers on leaves on handmade paper! That would be hella cute. (◡‿◡✿)
What are your favorite DIY projects?


Interesting! I hope I'm also creative like you Krissy. Kakaiinggit! :)
ReplyDeleteThanks, Pau-pau! I think being creative naman is not inborn, it's something you nurture. Go, create lang nang create ;)
ReplyDeleteThose handmade paper are so lovely! I remember doing this whe I was in high school pa lang! it was our project! And it was not so perfect too, but I loved it bec I made it with my hands, I even put rose petals on it!
ReplyDeleteImperfections always add to anything handmade's charm ^_^ And wow, I'm sure your handmade paper with the rose petals looked great! If ever I decide to do this again (when I have a blender I can use, maybe?) I will definitely add leaves and petals :)
ReplyDeleteYes, I think it's better if you use blender! I'll be looking forward to that, seems like you got hooked on making handmade papers ha? :) Keep it up po!
ReplyDeleteThis is way easy with a blender!!! I'd never think of making it without one! :^) patsy
ReplyDeleteI'll certainly do this again when I already have a blender I can use hihi, thanks! :)
ReplyDeleteI know huhu, too bad I don't have an extra blender I can use for non-food items :/ But if I do decide to get one for craft projects, then I'm sure the results will be much better! ^_^
ReplyDelete